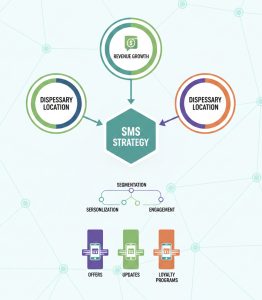
Dispensary SMS setup is a system. Carriers expect registration, customers expect clear consent and opt-out handling, and deliverability depends on how the program is configured from day one.
This onboarding guide walks you through the complete Blackleaf setup process from creating an account to launching your first compliant campaign, with the checkpoints that prevent the most common deliverability problems.
Follow this order and you will get to a reliable first send without burning your list or triggering avoidable carrier issues.
Page Summary
- Complete registration before scaling. Stable reach starts with accurate 10DLC registration and consistent sender identity.
- Set billing and auto reload early. Avoid mid-send failures and operational interruptions.
- Import clean contacts. Your list quality controls opt-outs, complaints, and long-term deliverability.
- Launch with a small, testable campaign. Validate audience, links, and message patterns before increasing volume.
Definition
Blackleaf onboarding is the setup process that connects billing, 10DLC registration, contact import, and campaign workflow so you can send permission-based messages with predictable deliverability.
If you want deeper background, use 10DLC for dispensaries, SMS opt-in for dispensaries, and dispensary SMS deliverability.
Before You Start
- Have your business info ready: legal business name, EIN, address, and website domain.
- Know who opted in: only upload contacts that have permission to receive your messages.
- Decide your sender identity: keep one consistent brand identity so recognition and trust build over time.
Carrier content enforcement matters. Carriers enforce restricted content categories and risky patterns. These rules are often summarized as SHAFT (Sex, Hate, Alcohol, Firearms, Tobacco), plus other regulated content and policy-based filtering. Your goal is to keep messaging permission-based, predictable, and aligned to your registered use case so reach stays stable.
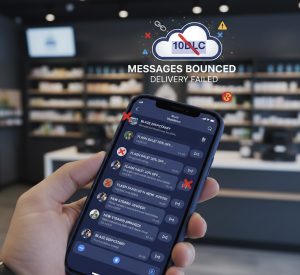
Setup problems look like marketing problems later
If registration, consent, or list hygiene are weak, you can get short-term results and still lose long-term reach. Fix the foundations first so your program stays usable.
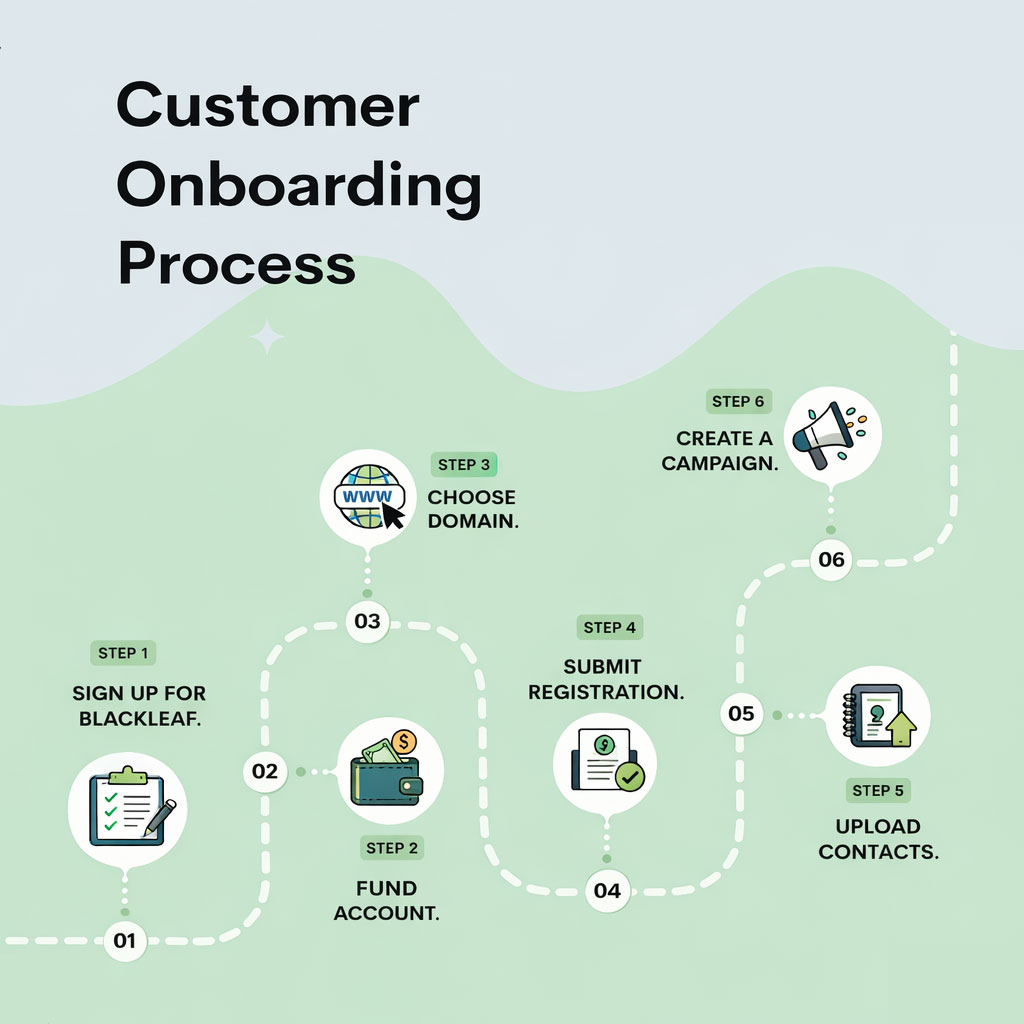
Step-by-Step Setup
This build order gets you to a safe first send while keeping billing, registration, and list health stable enough to scale.
-
Sign up for Blackleaf. Create your account at /signup/ and complete the signup form.
Once submitted, you will have access to your dashboard and can begin registration.
Blackleaf setup path from account creation through texting registration. -
Add payment information. Blackleaf uses a prepaid balance to send messages. Adding a payment method ensures campaigns can run without interruption.
Open the Balance area in your dashboard to add a payment method and view your current balance and usage.
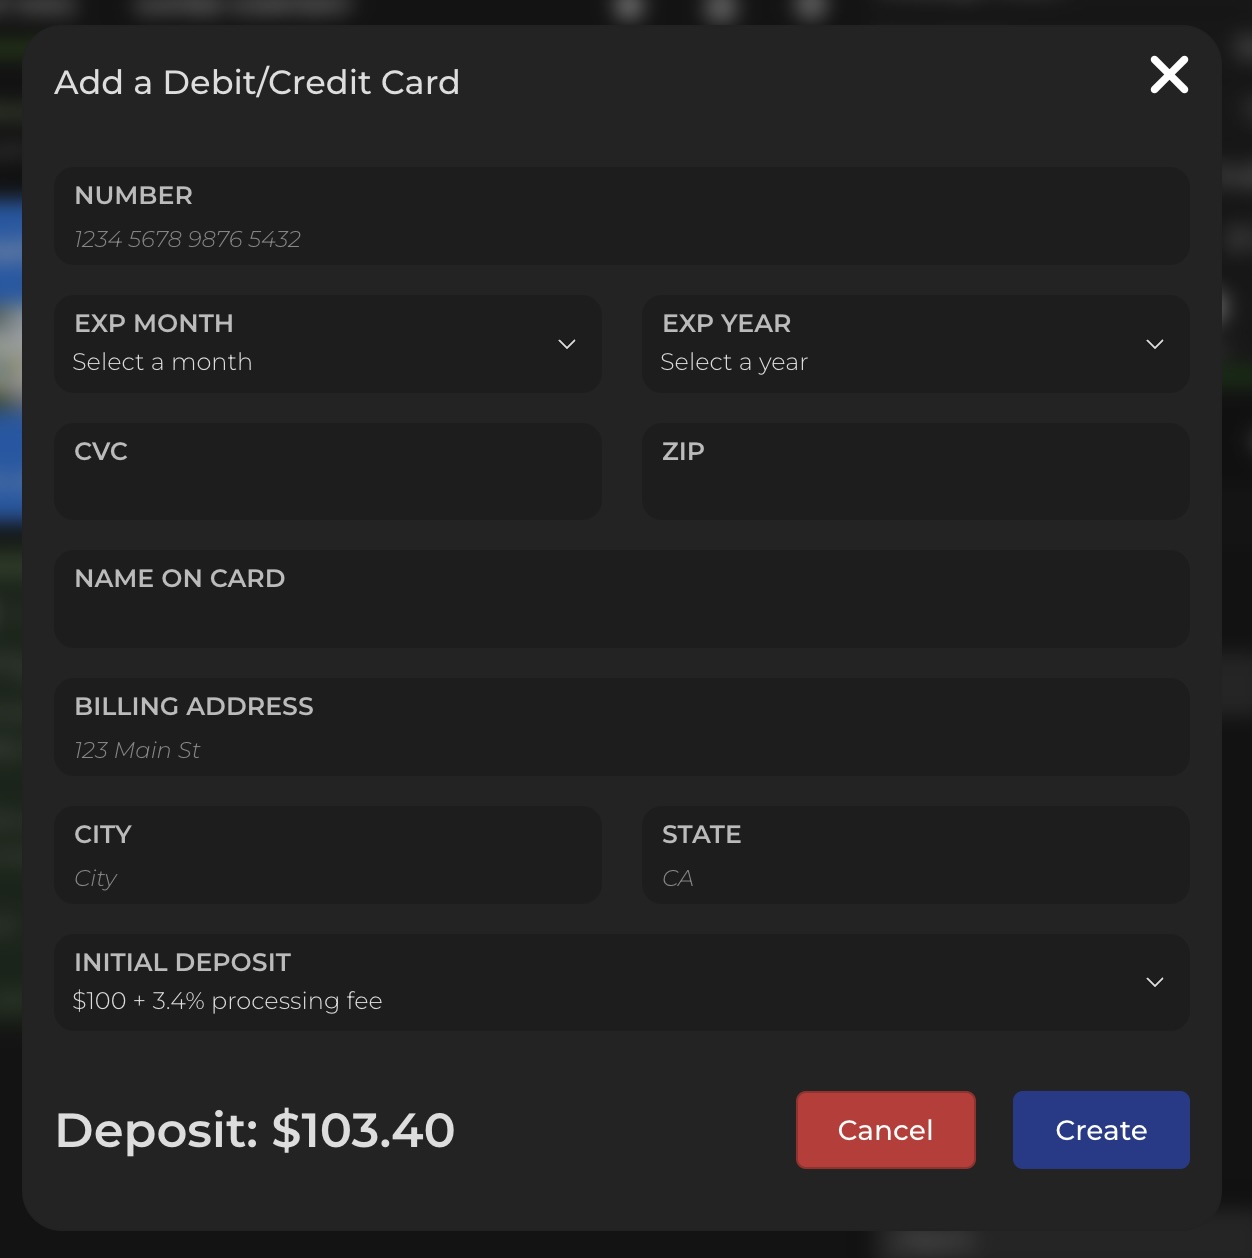
Add a payment method so you can fund messaging and registration. 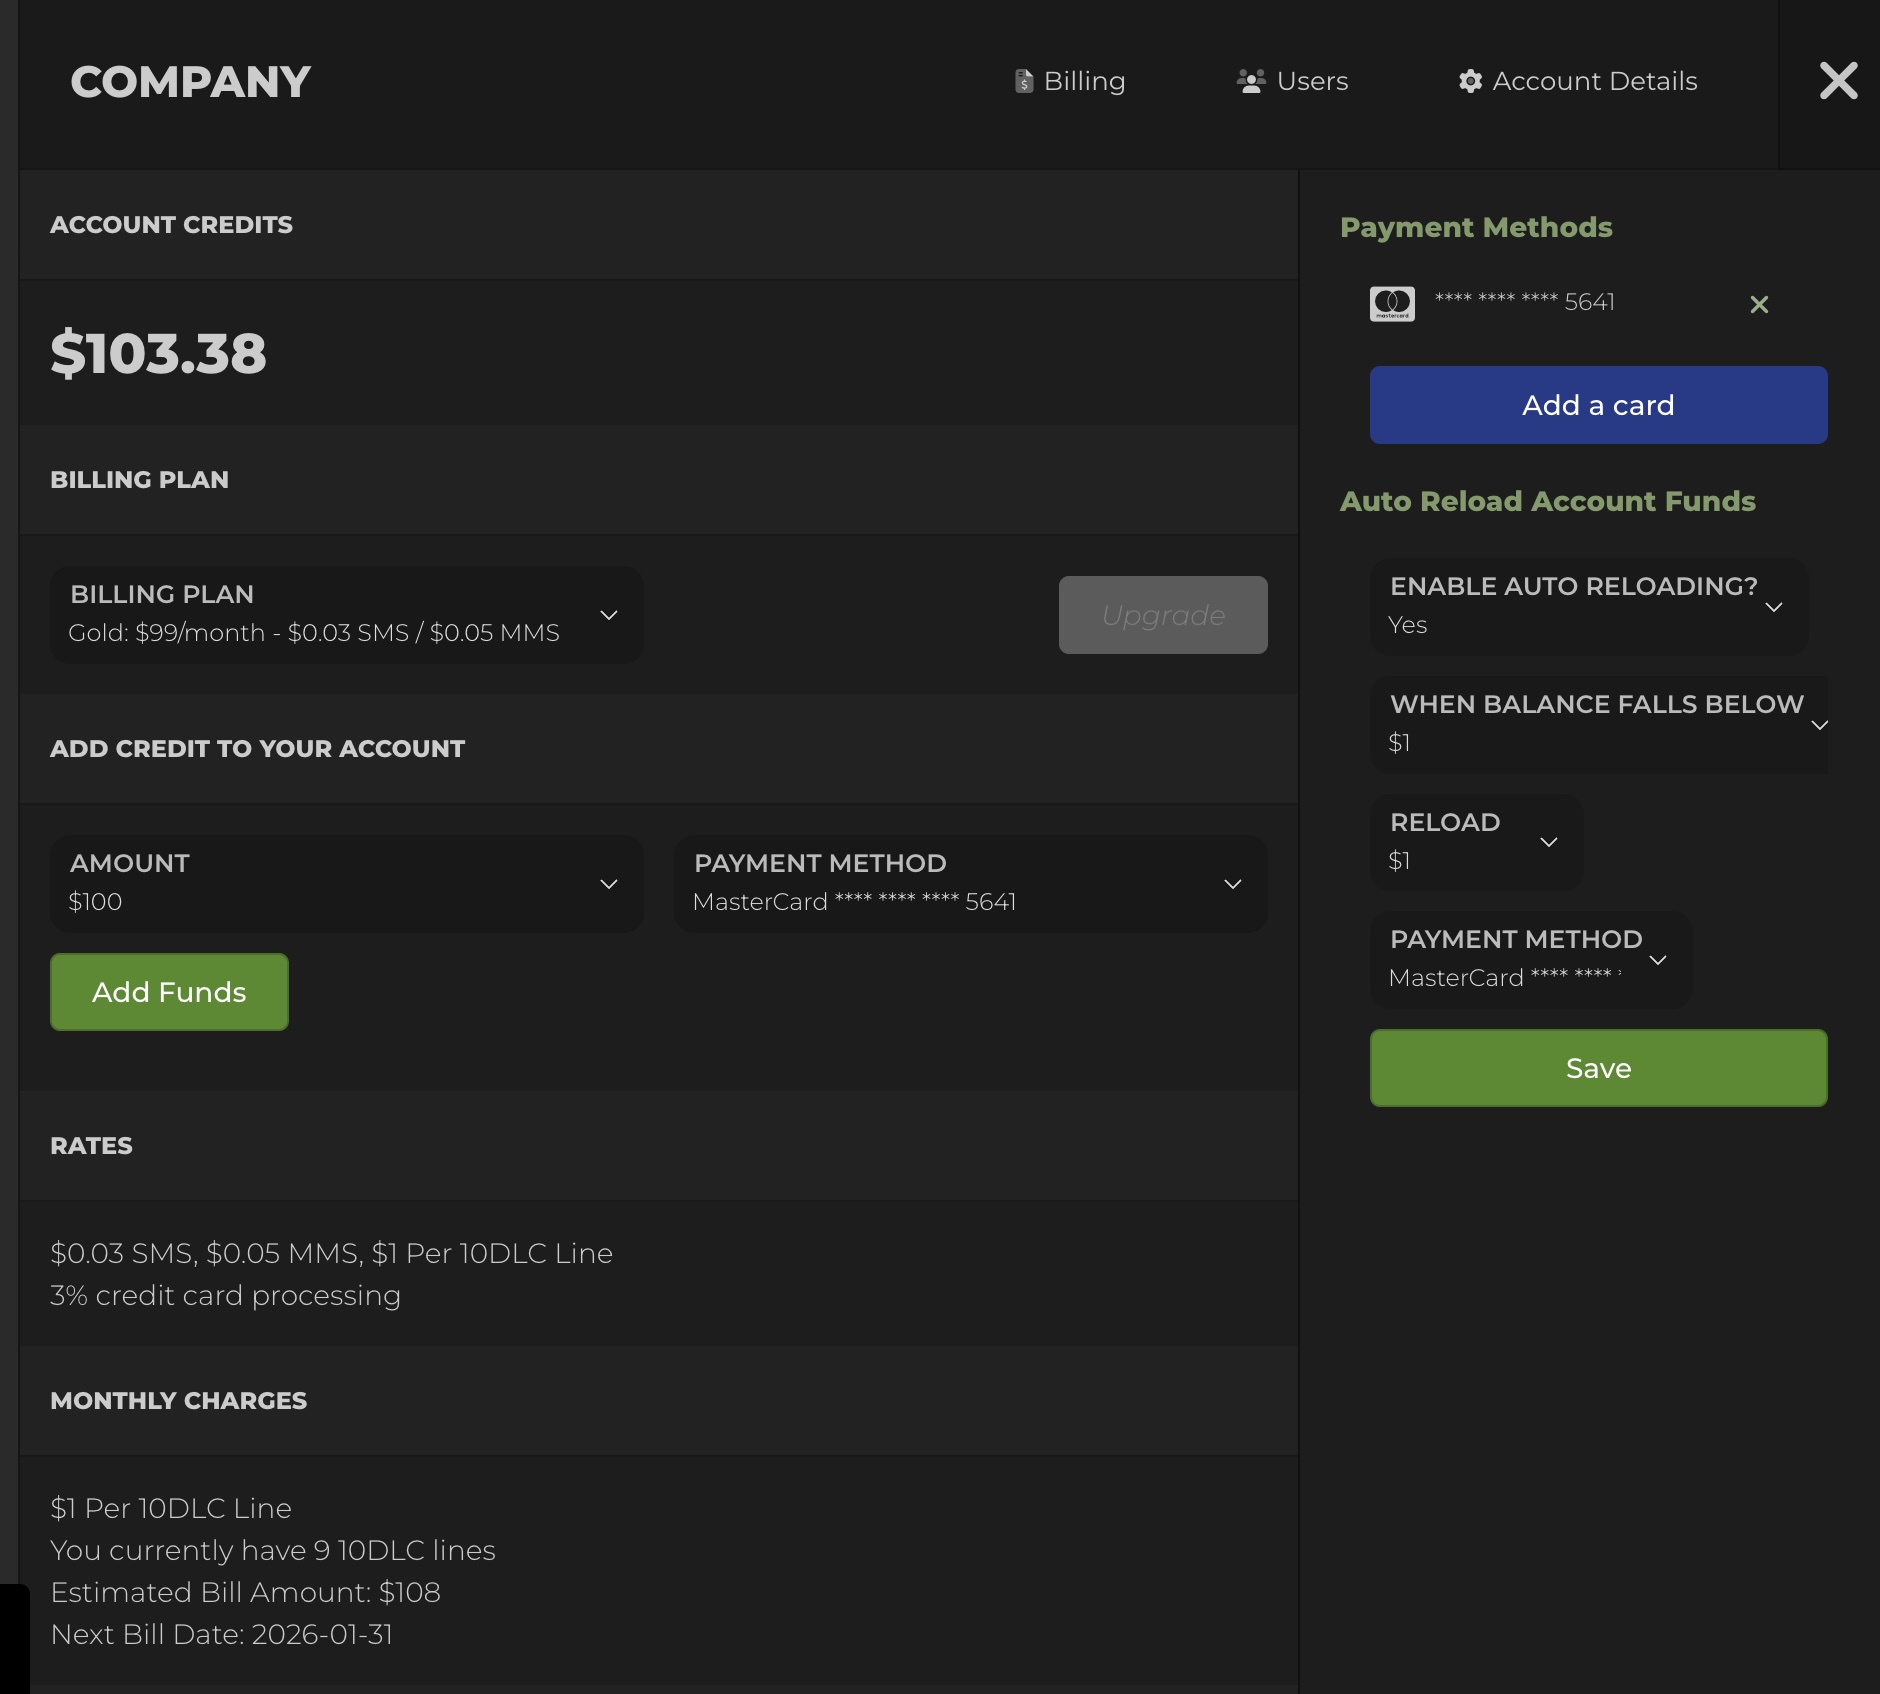
Billing history and settings are available any time. -
Enable auto reload (recommended). Auto reload adds funds when your balance falls below a set threshold so campaigns do not stop mid-send.
Open Billing in the navigation and set your reload threshold and reload amount.

Auto reload prevents operational failures caused by low balance. -
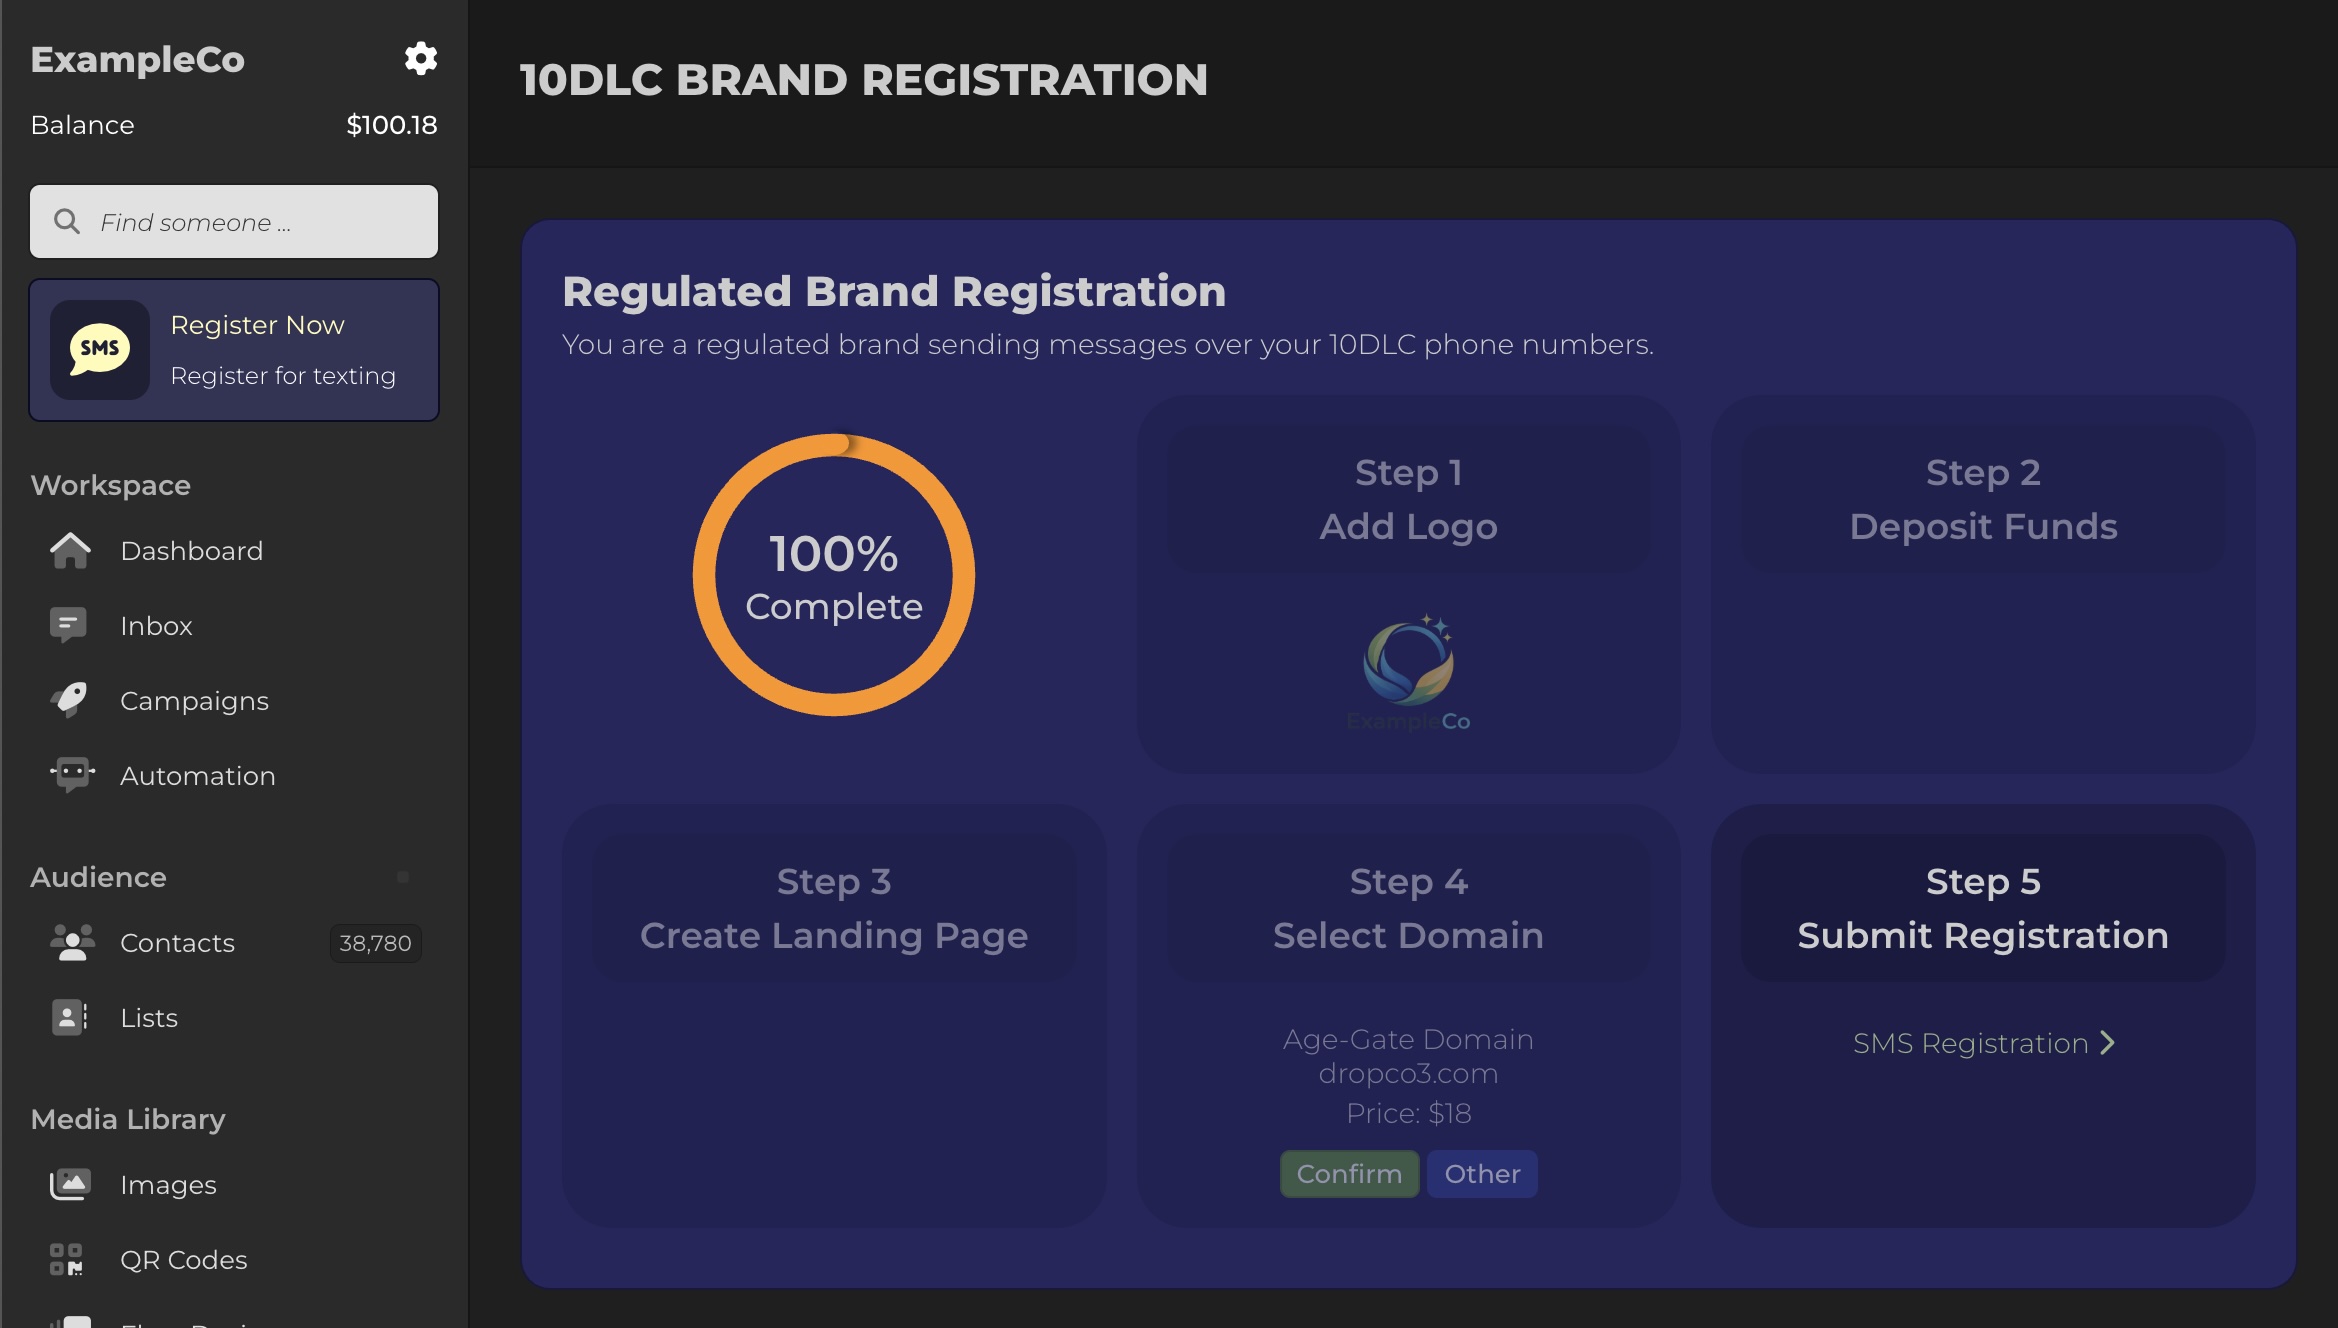
Submit your 10DLC brand registration. Business messaging in the U.S. is expected to align with A2P 10DLC registration and an accurate campaign use case. Blackleaf submits registration on your behalf.
In your dashboard, click Register Now and complete the steps.
- Upload your business logo
- Deposit initial messaging funds
- Select or confirm your sending domain
- Submit brand registration for carrier review

Brand and campaign registration setup inside Blackleaf. During registration, Blackleaf will help configure:
- Sending phone numbers and sending identity
- Preferred area code selection (when available)
- An age-gated landing page pattern (when needed)
- Recommended compliant domains (or you can provide your own)
Registration steps are designed to reduce deliverability risk. Checkpoint What you are confirming Why it matters Brand and use case Registration matches what you actually send Mismatch increases filtering risk Domain and identity Consistent sender identity and destinations Consistency supports trust and recognition Opt-out handling STOP behavior works predictably Required for compliance and list stability If you want the deeper registration layer, use 10DLC for dispensaries. If reach ever declines, start with deliverability and carrier filtering.
-
Upload your contacts. After registration is submitted, upload your contact list.
Go to Contacts and choose Upload CSV. Your CSV must include a phone column. You can optionally include first name, last name, email, or date of birth.
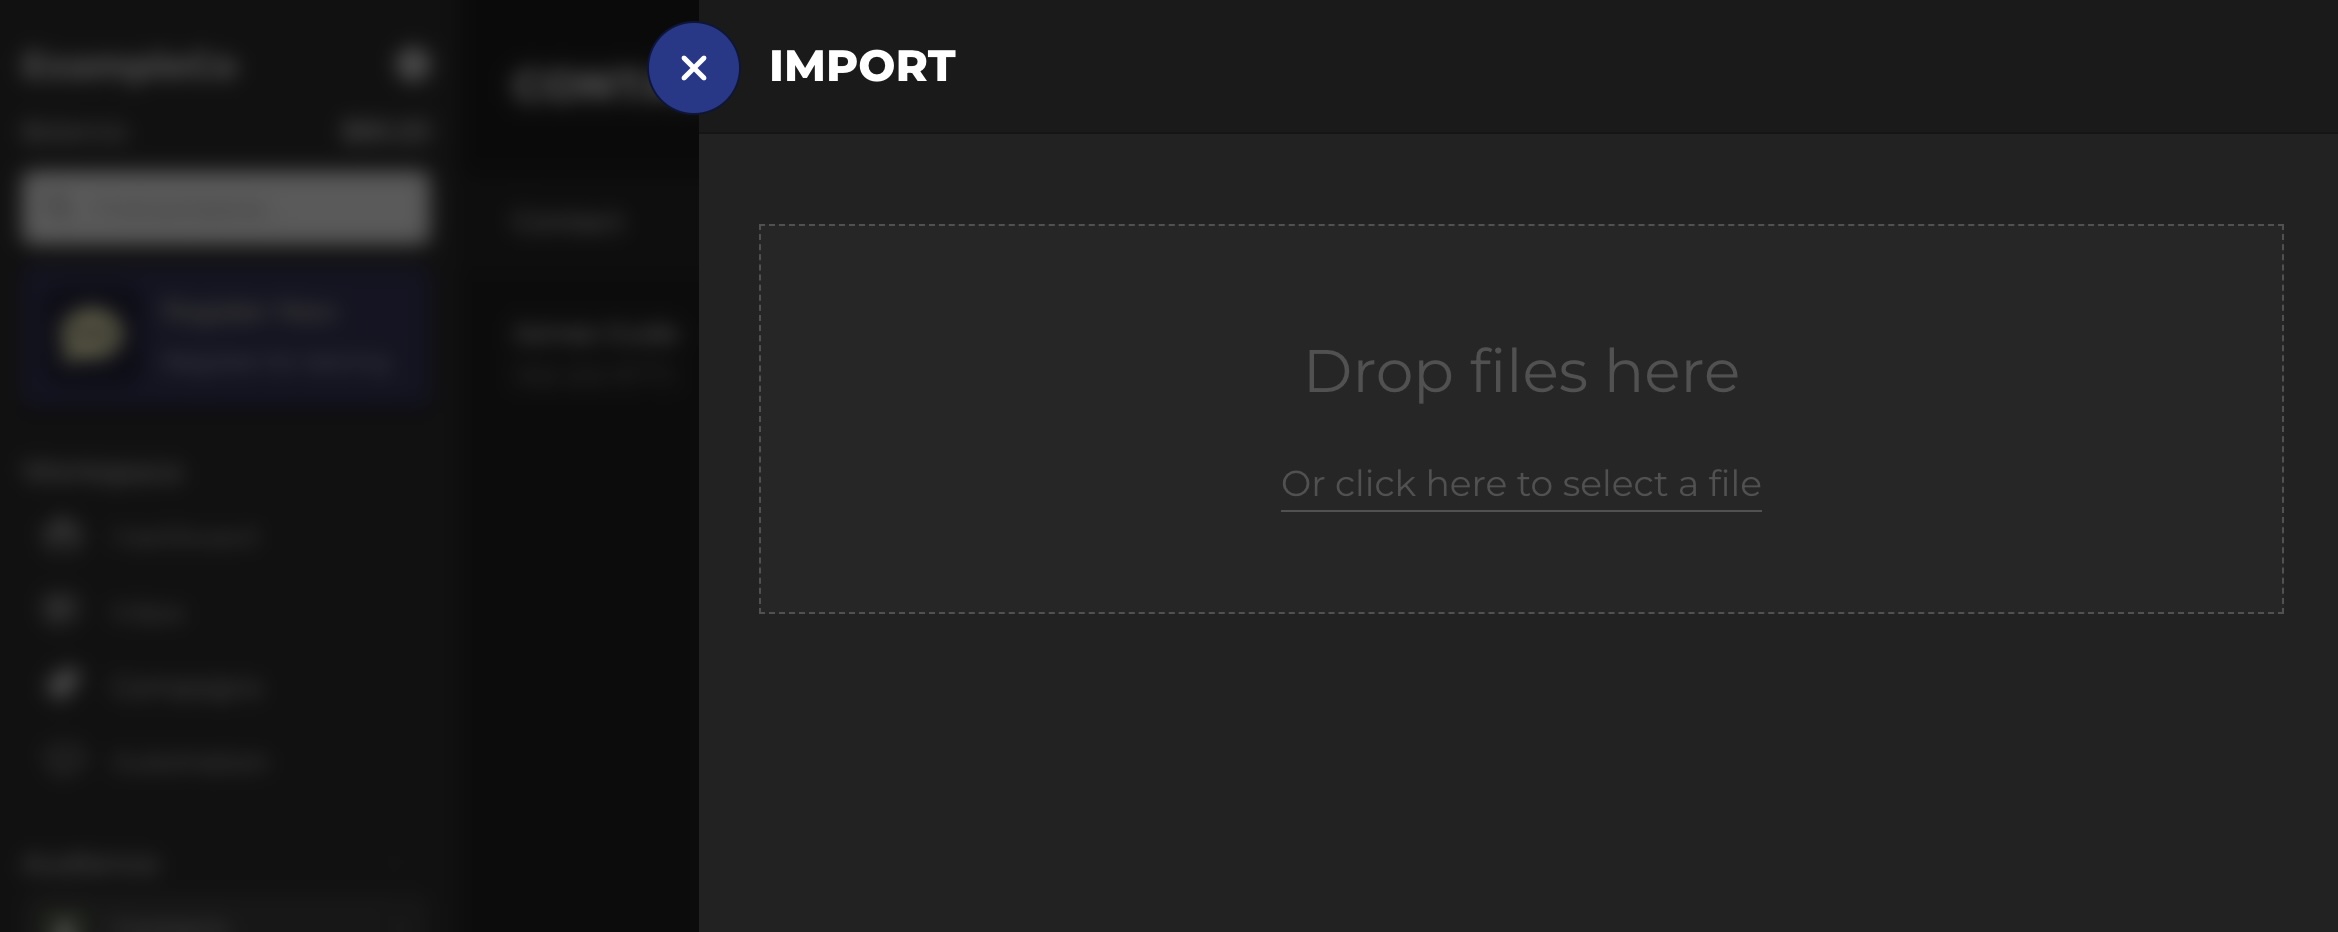
Upload contacts via CSV. During import, map each column to the fields you want stored.
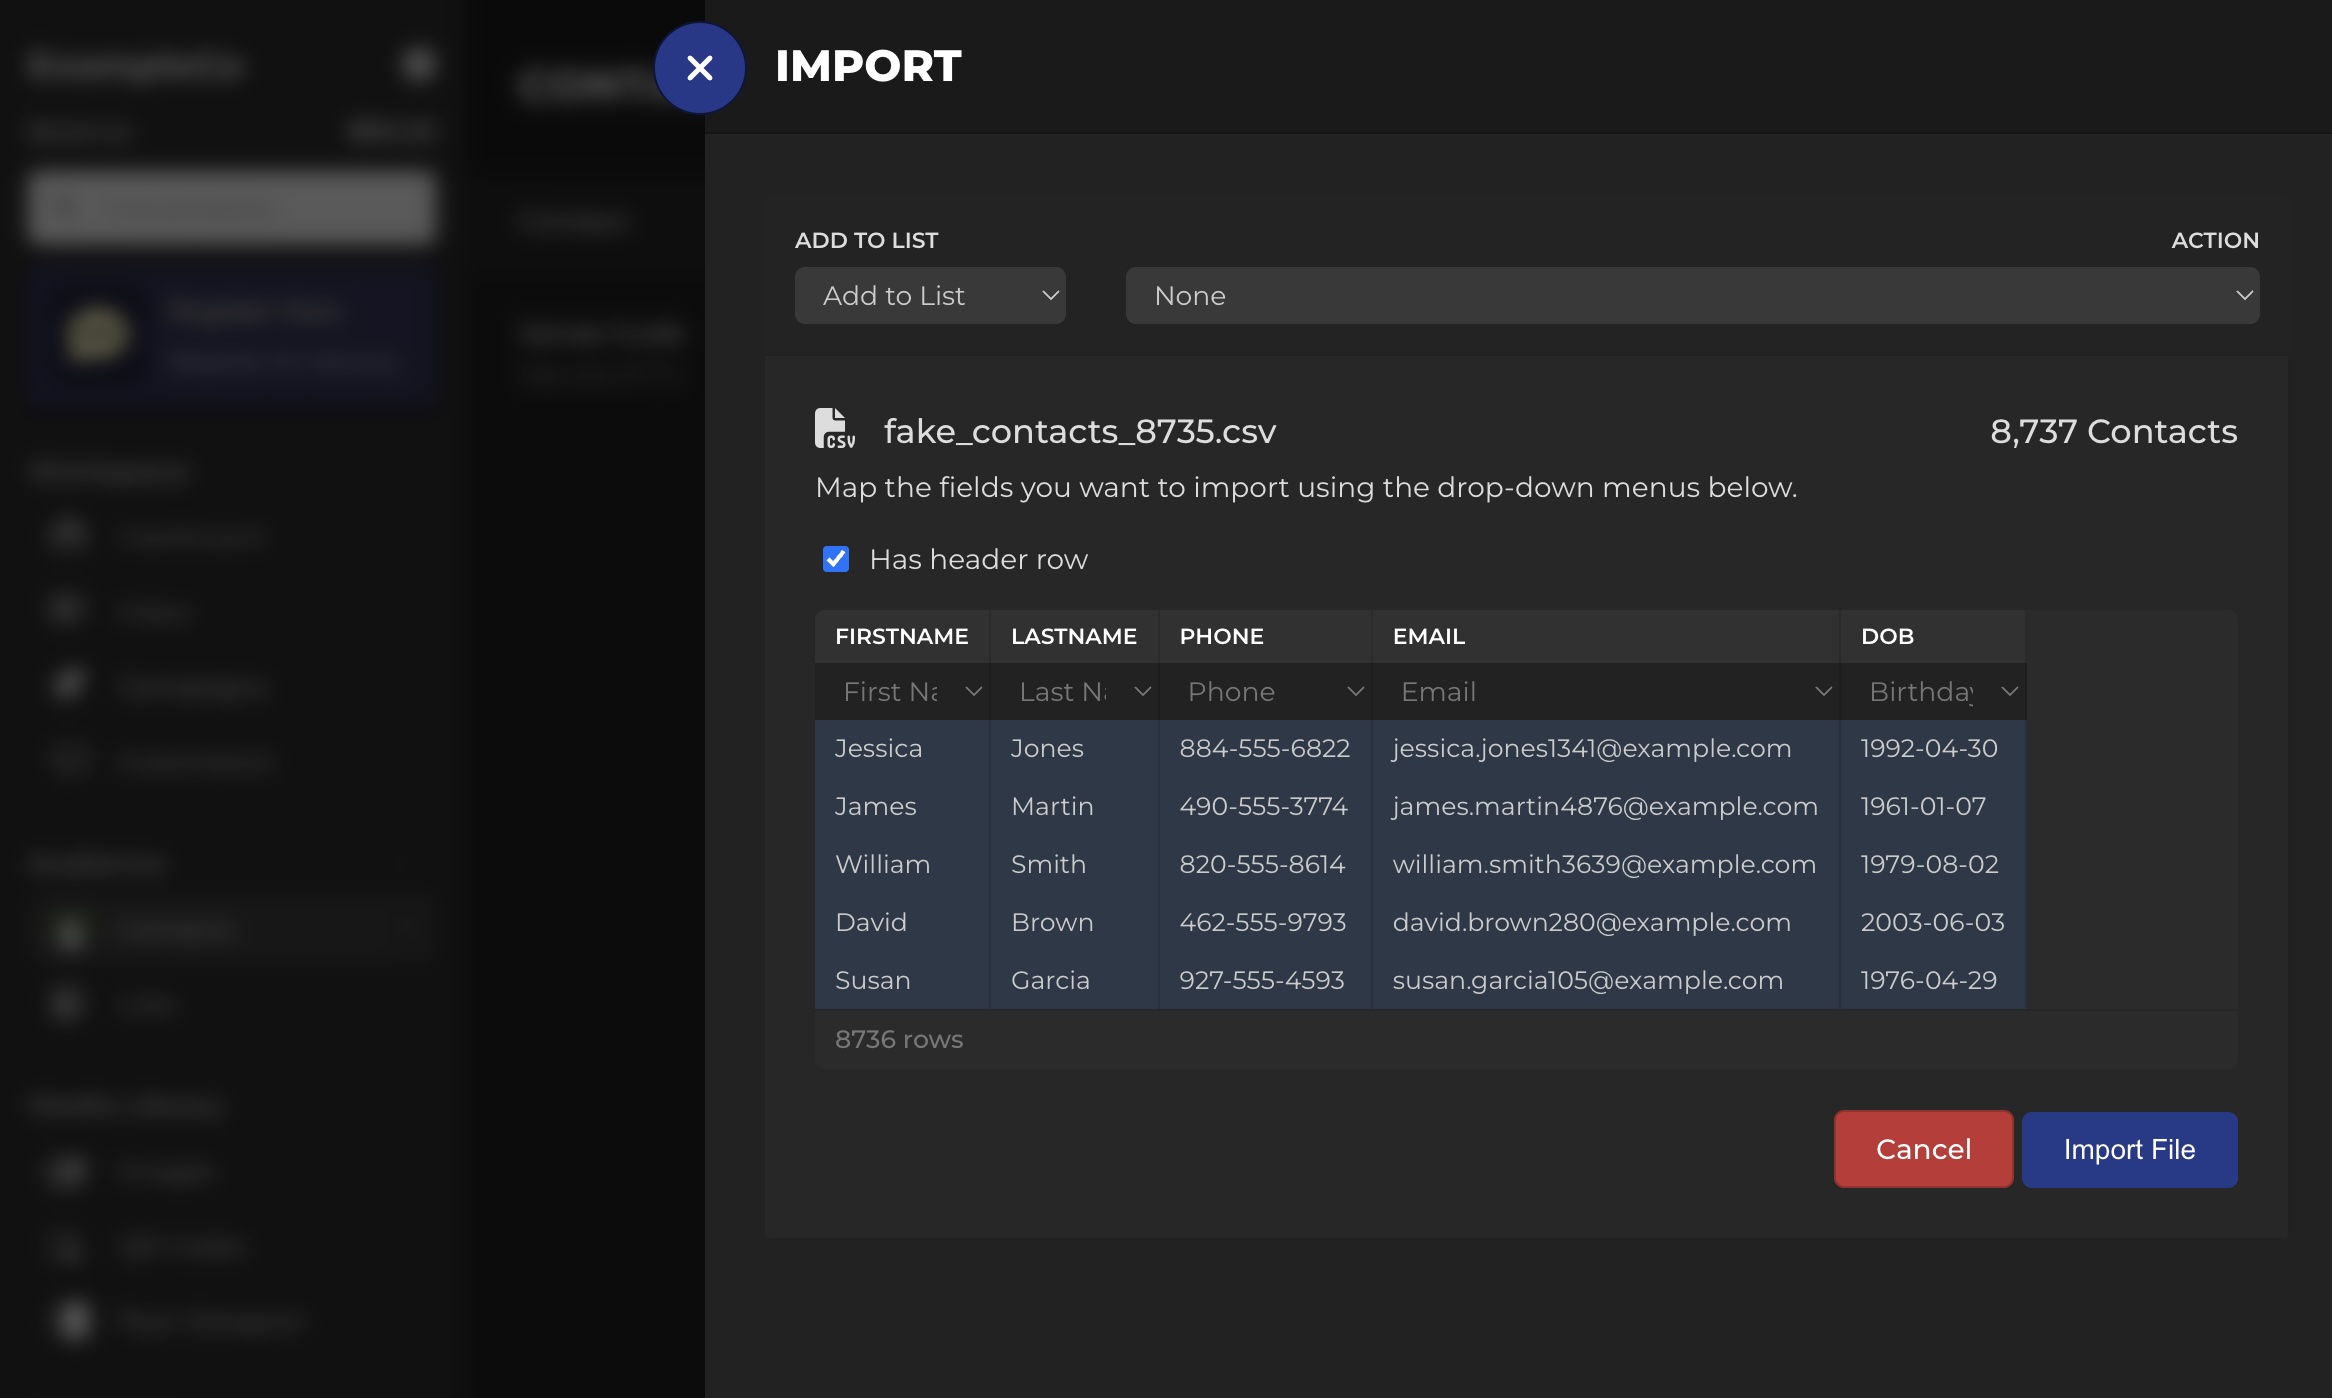
Map your CSV fields to contact properties. - Only upload opted-in contacts. If a record is not opted in, do not include it.
- Normalize phone format. Use valid U.S. numbers and remove duplicates.
- Tag your list. Even basic tags like source and location make your first segments cleaner.
-
Create your first campaign. After contacts are uploaded, create a campaign in Campaigns and select New Campaign.
Select an Audience

Start with a smaller audience so you can validate behavior safely. Create a Compliant Message Pattern
Your first message should be short, clear, and expectation-aligned. Blackleaf validates messages before sending.
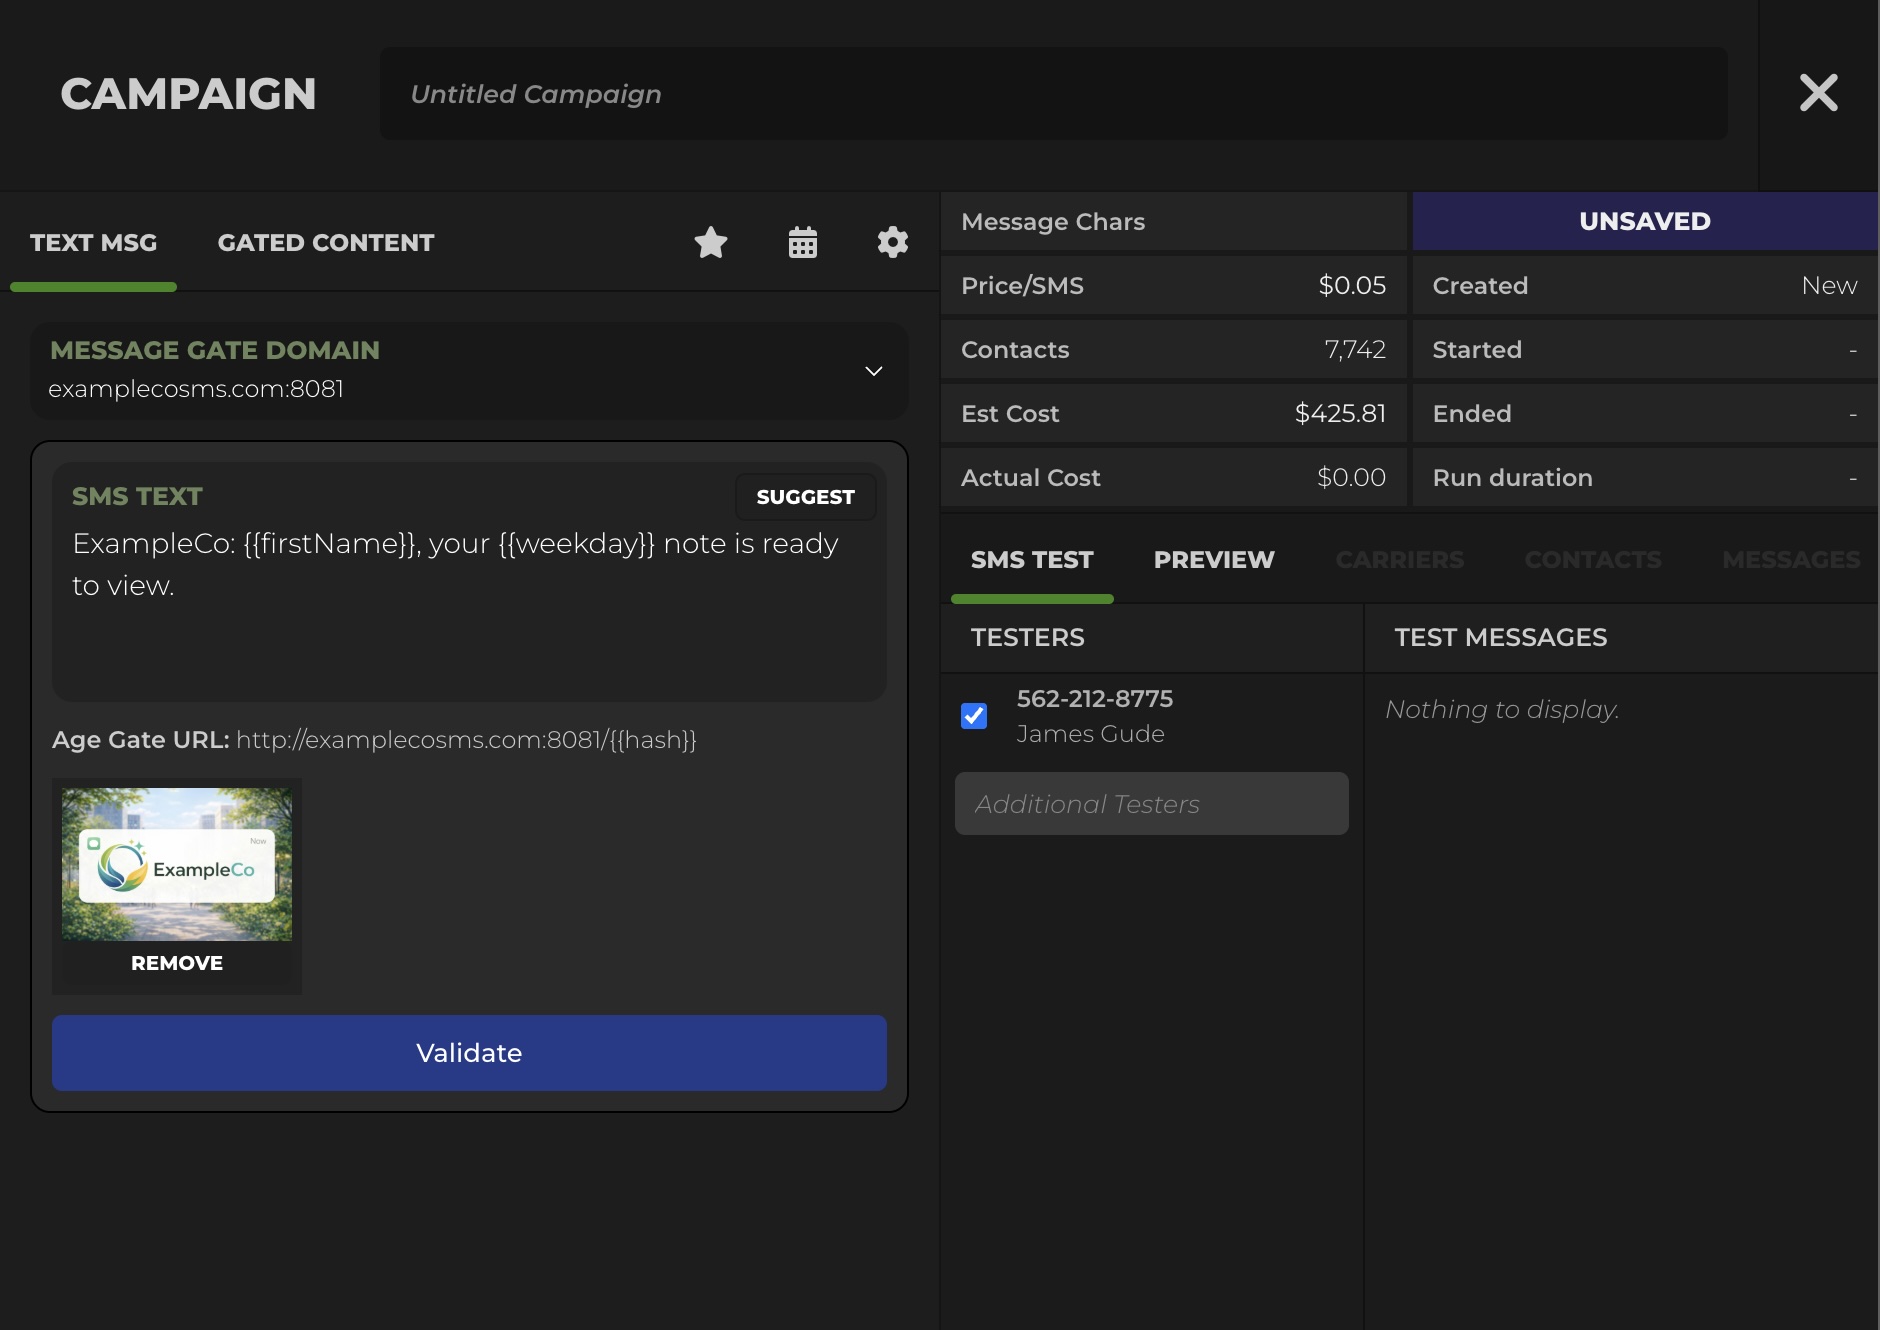
Use consistent identity, clear context, and predictable opt-out language. Create a Landing Page When Needed
If you are directing customers to details, host those details on an age-gated landing page pattern when appropriate.

Landing pages centralize details and reduce risky text payloads. Test Before Sending to the Full List
Send a test to validate formatting, links, and behavior before scaling volume.

Test sends catch issues before they damage reach. Launch and Monitor
Once live, Blackleaf provides visibility into campaign performance including:
- Carrier sends, failures, delivered, and unconfirmed
- Opt-outs and customer replies
- Link clicks
- Landing page views after the age gate
The fastest way to lose reach is to scale before you test
Start small, verify behavior, then scale volume. Most deliverability problems are easier to fix early than after you have trained the channel into fatigue.
Go Live Checklist
Use this list right before your first real campaign and whenever you add a new message type.
| Item | Pass condition | If not |
|---|---|---|
| 10DLC registration | Submitted and approved for your real use case | Pause scaling and complete registration alignment |
| Opt-in records | All recipients have permission to receive texts | Remove non-opted-in contacts before sending |
| Opt-out handling | STOP works and suppression applies immediately | Fix before any list-wide send |
| Audience size | First send is limited and testable | Reduce size until results and behavior are stable |
| Message structure | Identity, context, one action, opt-out language | Rewrite and retest |
| Links | Links resolve correctly and match the destination expectation | Fix links, then retest |
Common Mistakes
- Uploading contacts that did not opt in. This increases complaints and reach instability.
- Skipping the test send. Formatting and link mistakes are cheap to catch early and expensive later.
- Changing identity frequently. Consistency supports recognition and reduces opt-outs.
- Mixing message types without rules. Without suppression, one customer can receive multiple messages close together.
- Scaling volume before registration alignment. If registration and behavior do not match, filtering risk increases.
If reach drops, start with deliverability troubleshooting and carrier filtering.
FAQ
How long does registration approval take?
Approval timing varies, but it is normal for carrier review to take a few business days depending on the registration and the campaign use case.
Can we send messages before registration is approved?
Start with small test sends and operational validation. Avoid scaling volume until registration alignment and deliverability behavior are stable.
What is the safest way to launch the first campaign?
Send to a smaller, clearly opted-in segment, validate links and opt-out handling, then scale gradually with consistent patterns.
What should our first message say?
Keep it short, identity-forward, and expectation-aligned. Include clear context, one action, and opt-out language. Avoid risky content patterns and keep destinations consistent.
What if our delivery rate drops after we start sending?
Pause scaling, reduce audience size, review recent changes to message patterns, and troubleshoot deliverability and carrier filtering signals.
Do we need an age gate?
Use an age gate pattern when you need to control access to details that should be verified before display. Keep the text itself permission-based and predictable.
Final Takeaway
Blackleaf is built to make dispensary texting compliant, predictable, and easy to operate. The goal is a stable system that preserves reach so results stay repeatable.
Complete registration, keep consent and opt-out handling clean, import only opted-in contacts, then launch a small campaign you can measure and repeat.
Sources and Further Reading
FCC: Stop unwanted robocalls and texts
eCFR: 47 CFR § 64.1200 (TCPA regulations)
CTIA: Messaging Principles and Best Practices (PDF)
The Campaign Registry (A2P 10DLC)
Want your onboarding handled end to end?
Get a clean setup path for registration, contact import, and first-campaign execution, with deliverability and consent handled as infrastructure so reach stays stable.
Talk to Blackleaf